By Kevin
By Kevin
By Kevin
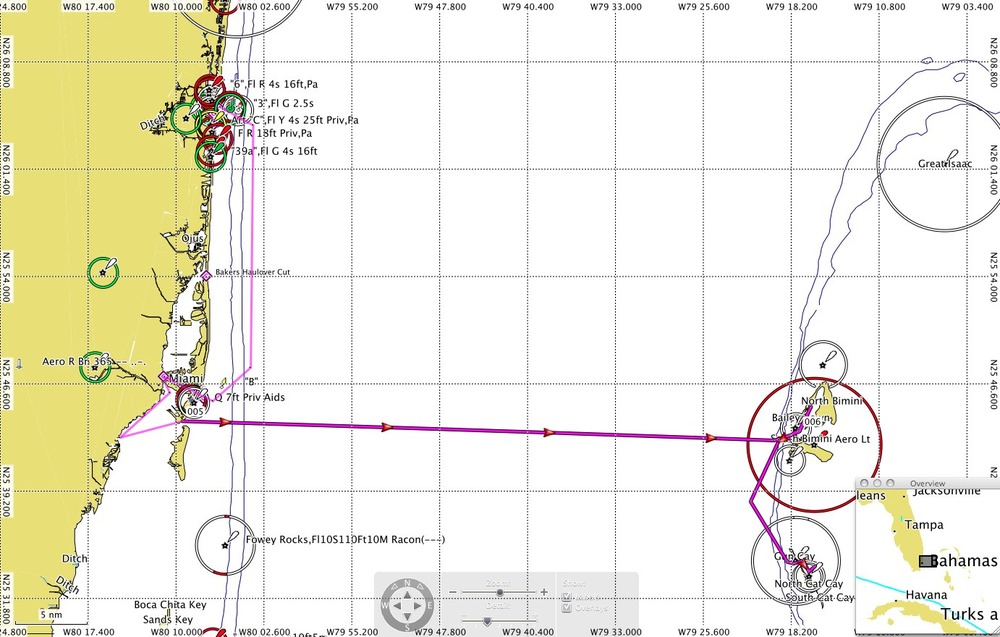
Today we left Bimini bound for Cat Cay. We spent 12 mostly relaxing days in Bimini, sitting at Weech’s dock and then out on our anchor. We were there much longer than we had planned mainly to wait for a good weather window before continuing traveling east.
And, we definitely had to wait while we sorted out our GPS issues. (We solved that by purchasing a brand new GPS handheld, a GPSMAP 78sc. We’ll relegate it to backup duty once we get our Garmin 441s properly installed in Nassau.)
The 8-10 knot east wind and flat seas made our 3 hours sail south a slice of heaven. It feels good to finally be out here, sailing, visiting remote islands, and using this sailing yacht that we’ve poured so much of ourselves into over the past 6 months.
Tonight we are anchored off a small resort island about 10 miles south of Bimini called Cat Cay. On the island, if we were to take the dinghy in to shore, we would find a high-end resort, an expensive marina with a few docked mega-yachts, and a few mega-million dollar vacation homes overlooking the ocean.
The anchorage is a bit bumpy right now but we hope it will settle down in a few hours when the winds continues clocking around from the east to the southeast. (Let’s hope everyone does okay.)
Tomorrow morning we’ll get up about 5 am, eat an easy breakfast, raise the anchor and head due east bound for the remote and beautiful Berry Islands. We’re predicting about a 15 hour sail with a 10–15 knot close reach. In order to not arrive after dark in the next harbor, we’ll likely have to anchor overnight on the Grand Bahama Bank–in 10-15 feet of water and total darkness. It should be an experience not to forget.
By Kevin
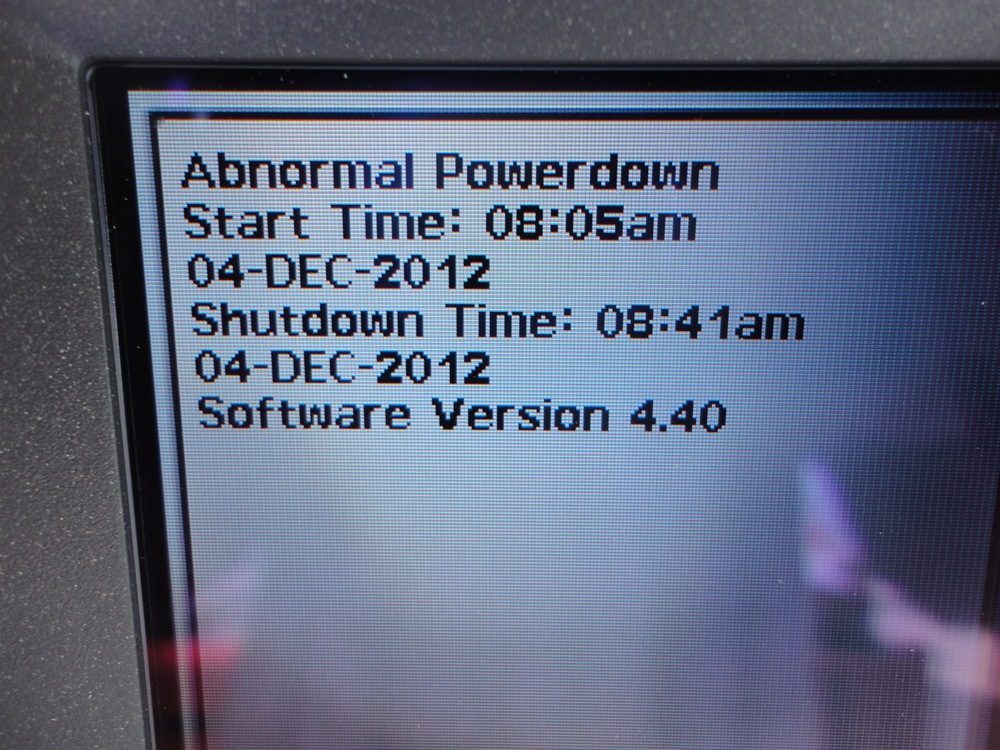
When you here the cliched warnings that GPS units sometimes fail so have a backup available, heed them.
In early November, we installed a new Garmin 441s electronic chartplotter, which we purchased at West Marine in Fort Lauderdale. We installed it by running the wires into the engine room (directly under the steering pedestal) and attaching the positive directly to the house battery bank switch and the ground to a ground terminal block that was also servicing our 12 volt auxiliary outlets.
Fail.
It seemed to work fine but when we got the boat off the dock in lightly choppy water, it cycled off. Each time we turned it back on, it would only stay on for 5 minutes or so. Fortunately, it was enough to get us to Miami and one of the crew had good local knowledge that allowed us to get into port after dark. (Thanks, Captain Gerry!)
West Marine was gracious and replaced the main GPS unit, in case the one we had was faulty. We kept the existing wiring in place and swapped out just that unit.
Fail.
The next time we went out, on a flat Biscayne Bay, it cycled off.
We rewired the positive to the 12 volt auxiliary circuit, as I suspected the house bank connection was loose.
Fail.
Unfortunately, the night we chose to leave for the Bahamas, crossing deep ocean water, it failed again. This time one of the crew (yes, Captain Gerry again!) had the Navionics iPad app and we used that for the 12 hour passage to North Bimini Island.
So, now in Bimini I hired a Garmin authorized installer to take a look. He thought the problem was the wimpy 3 amp inline fuse holder that comes with the unit. So, he replaced it with a heavy duty automotive-style fuse holder.
Fail.
We left the dock at North Bimini to sail 60 miles east. Within minutes of getting off the dock, the unit turned off again. So, we cancelled our crossing of the Great Bahama Bank and anchored out.
Since we want to get out of Bimini as soon as a weather window opens, we decided to order a new GPS chartplotter. We ordered a Garmin 78sc handheld chartplotter from West Marine. It will be shipped overnight to a private airplane company that flys between Bimini and Fort Lauderdale. Hopefully we’ll get it by Sunday, which is our next potential departure date.
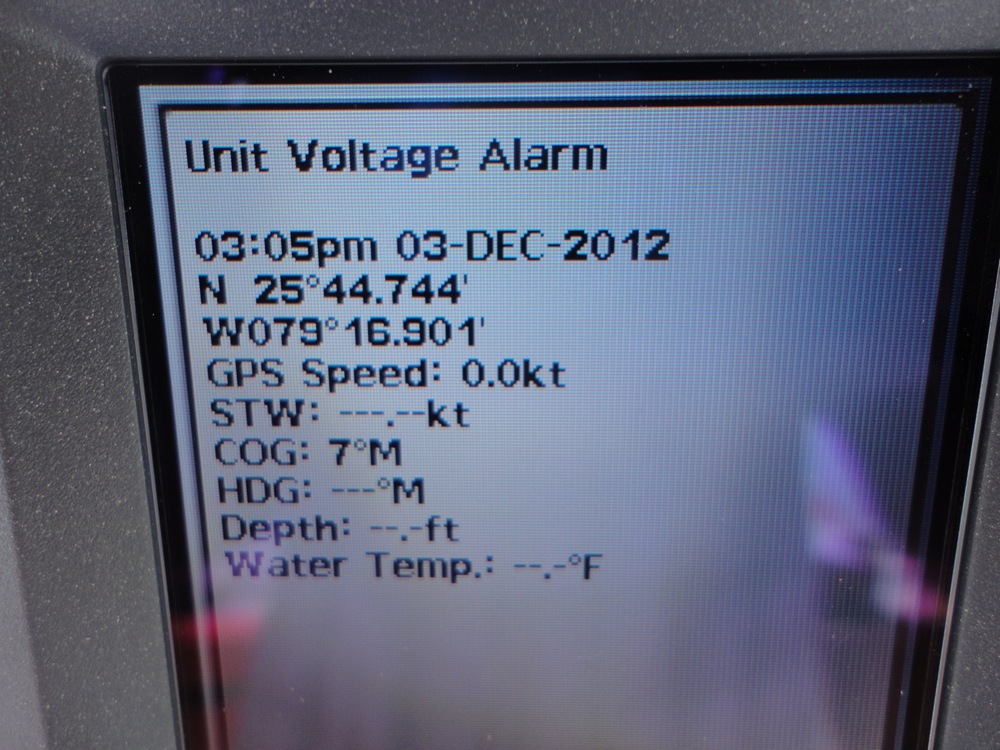
So, the problem with the 441s should be either the voltage disappears, the voltage drops, or the amps drop. I turned on a voltage alarm on the unit when the problem first started that will sound if the voltage drops below 11.5. It hasn’t sounded when the unit cycles off. So, that leads me to believe either the amps cut out because of a corroded wire or the volts disappear because of a partially broken wire.
The only 2 things left to do to troubleshoot are: Rewire the unit directly to the battery to see if it works without fuses, breakers, etc in the circuit; second, replace the power/data cable that came with the unit, as it may have an intermittent wire break that only acts up when there is some wave or wind movement.
But, that will have to wait until we get to Nassau.


By Kevin
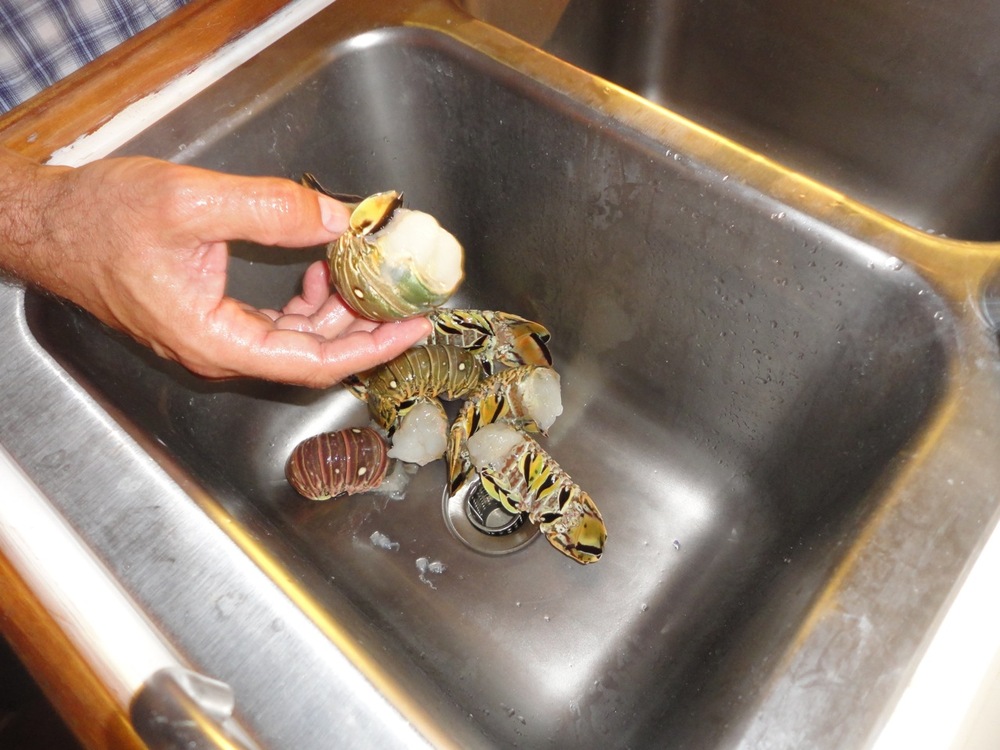
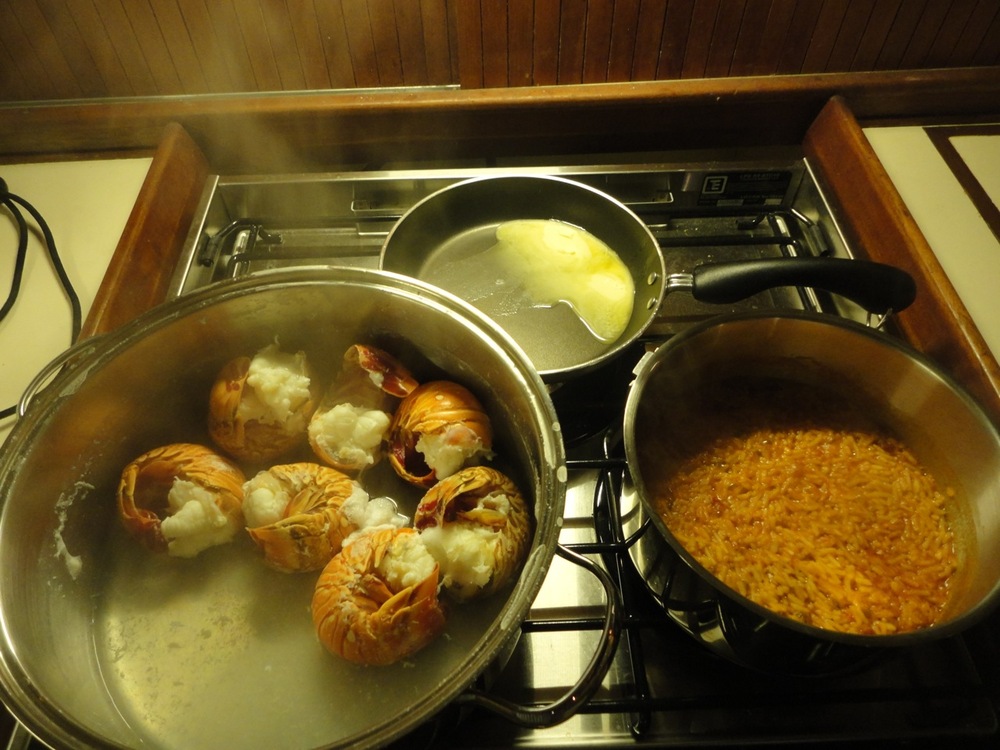
While tied to the dock at North Bimini, one of the local women came up to our boat selling lobster tails her husband caught earlier in the day. 7 tails for $25.
By Kevin


By Kevin
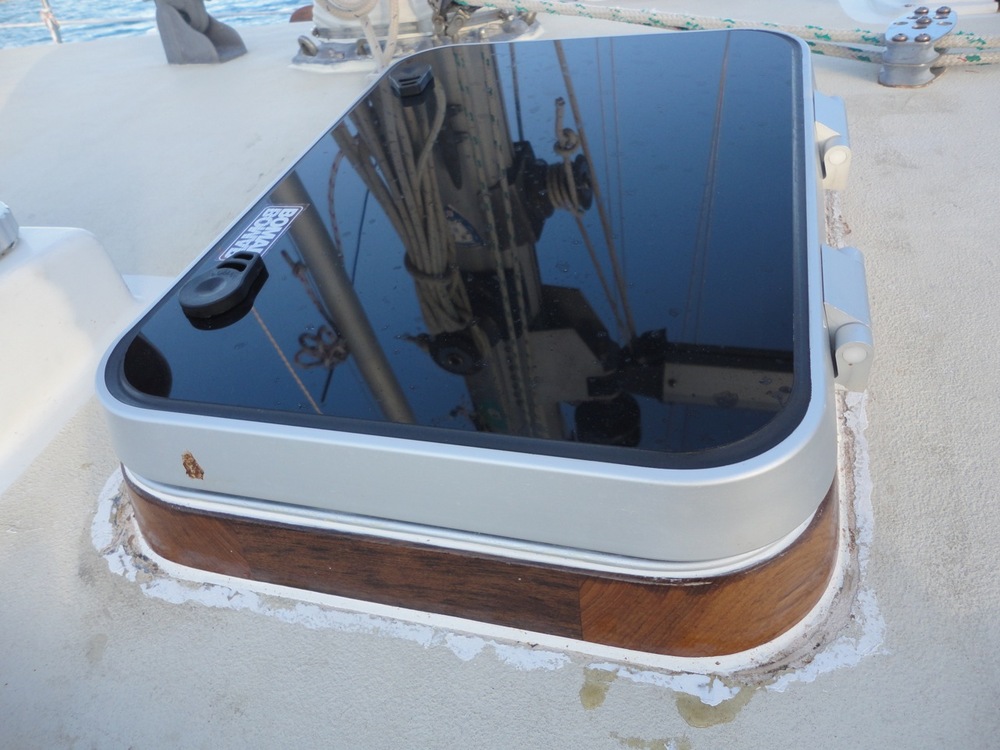
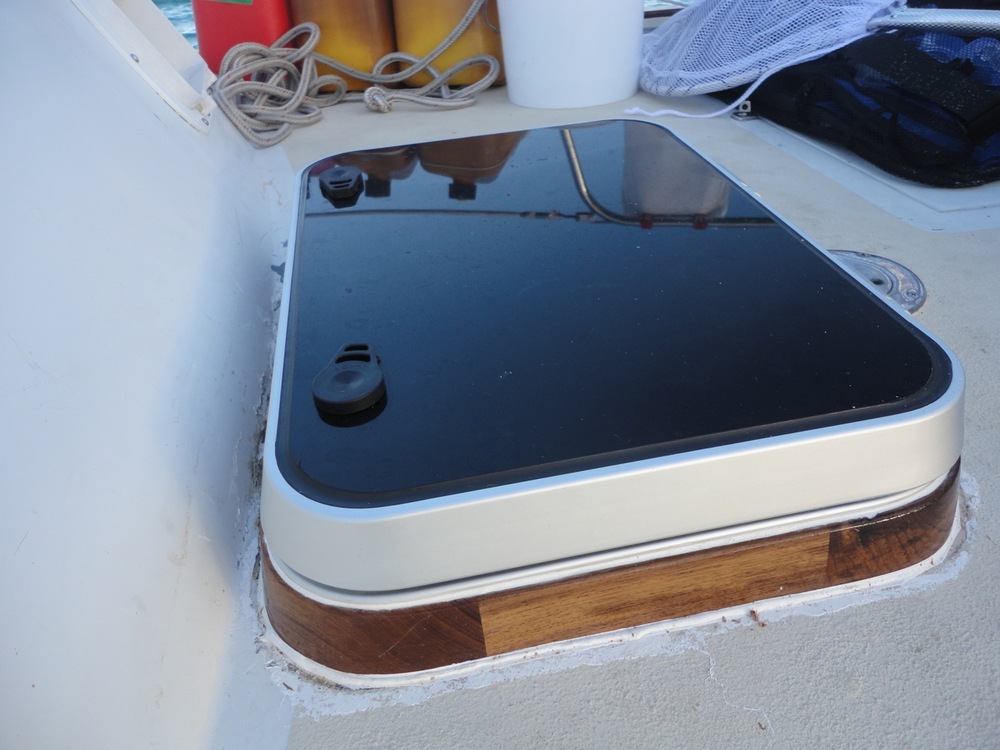
We like to keep water out of the boat. One of the several ways water liked to get below decks on Real Life when we bought it was via the old, crusty Bomar hatches. We replaced all five hatches with brand new ones delivered straight from the factory.
The two that were bedded directly onto fiberglass risers went on very easily and have been no problem. Well, the fiberglass around the galley hatch did get damaged when the hatch was removed. But, some putty and paint will fix that up.
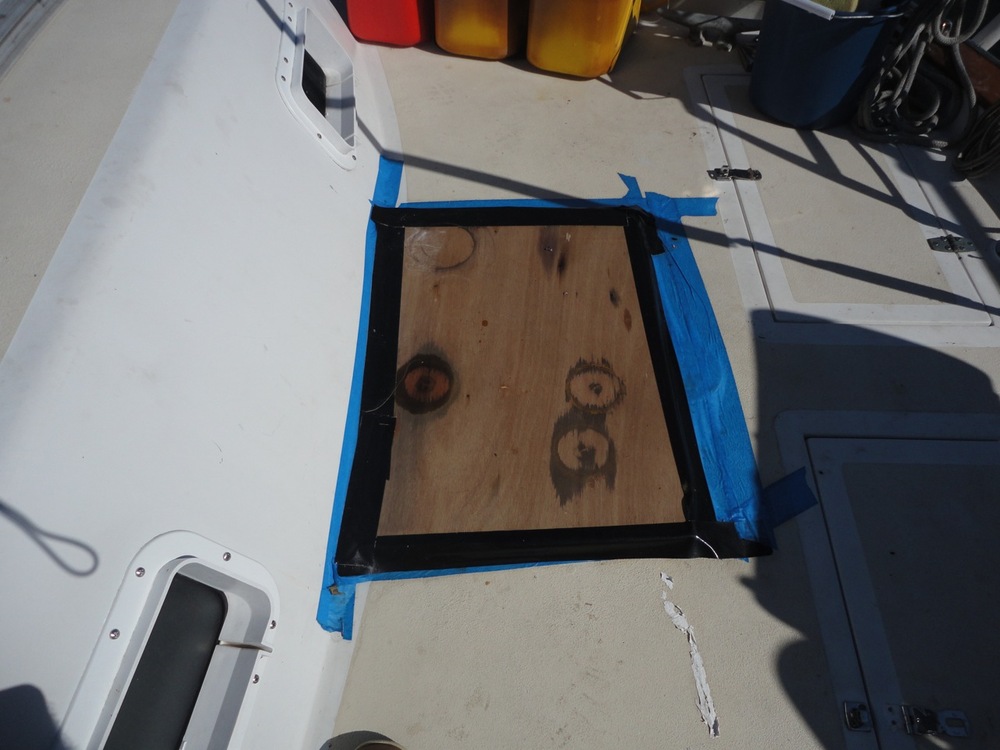
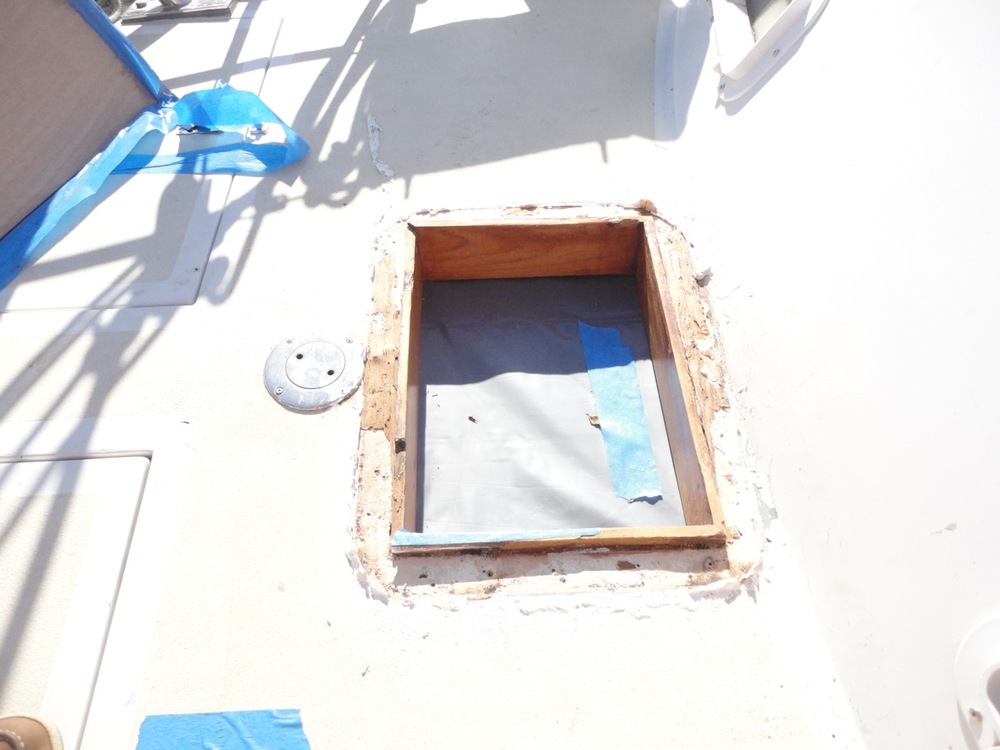
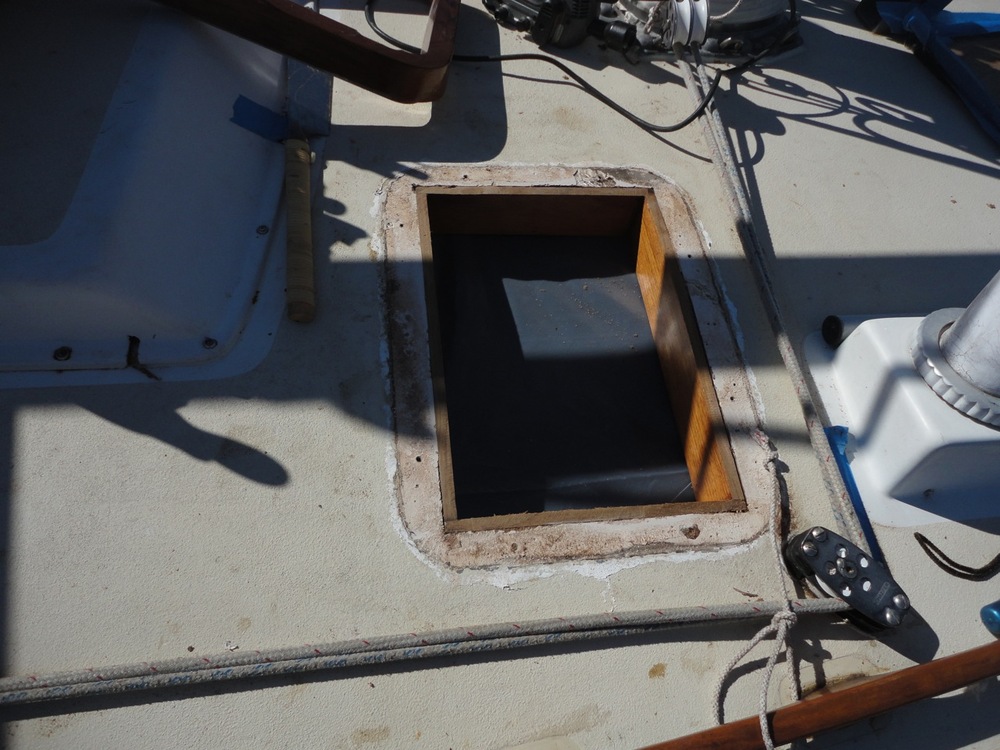
Unfortunately, three of our hatches were bedded directly onto beautiful teak risers. (Risers are bumps or frames that encircle the hole in the deck that the hatch covers. They keep water from spilling into the hole when the hatch is open.) When these hatches were removed, the teak split and splintered.
The contractor that was installing them had to build new teak risers. For the first attempt (yes, there was more than one), he just screwed/glued the teak frames onto the deck, using the screws and glue to bend the frame to the camber of the deck. Of course, this caused them to all leak badly.
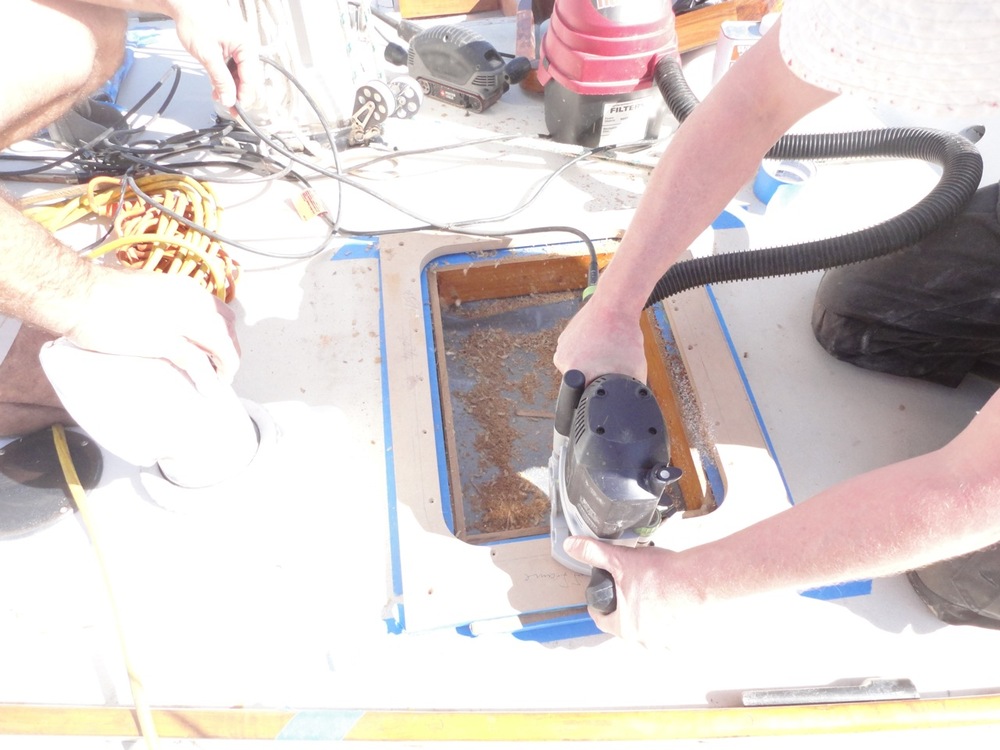
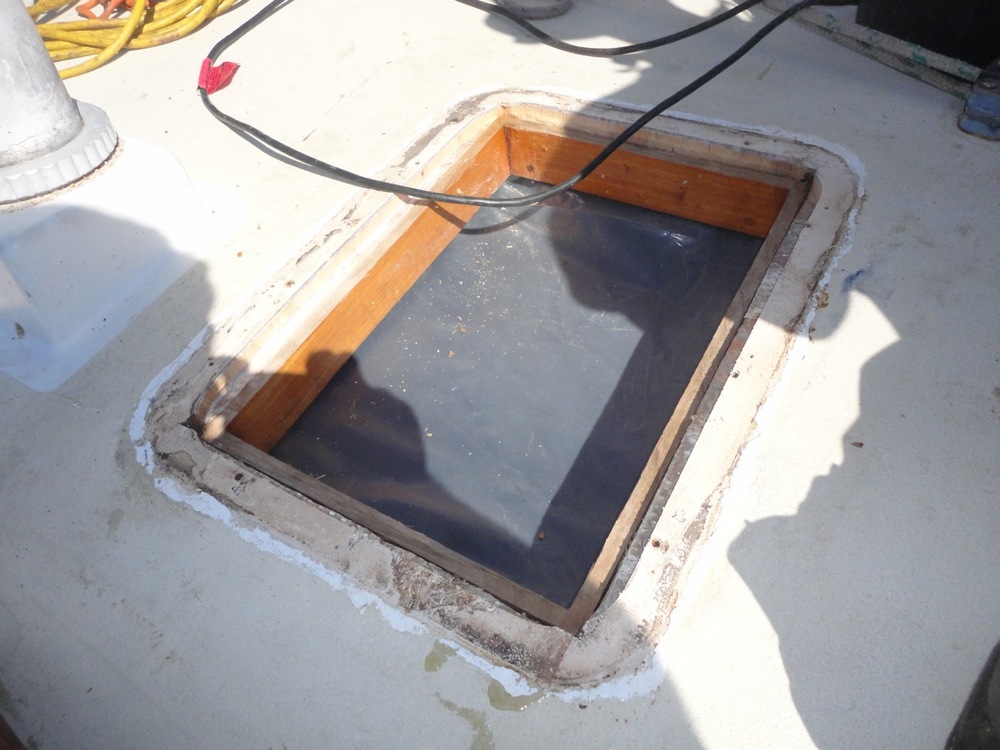
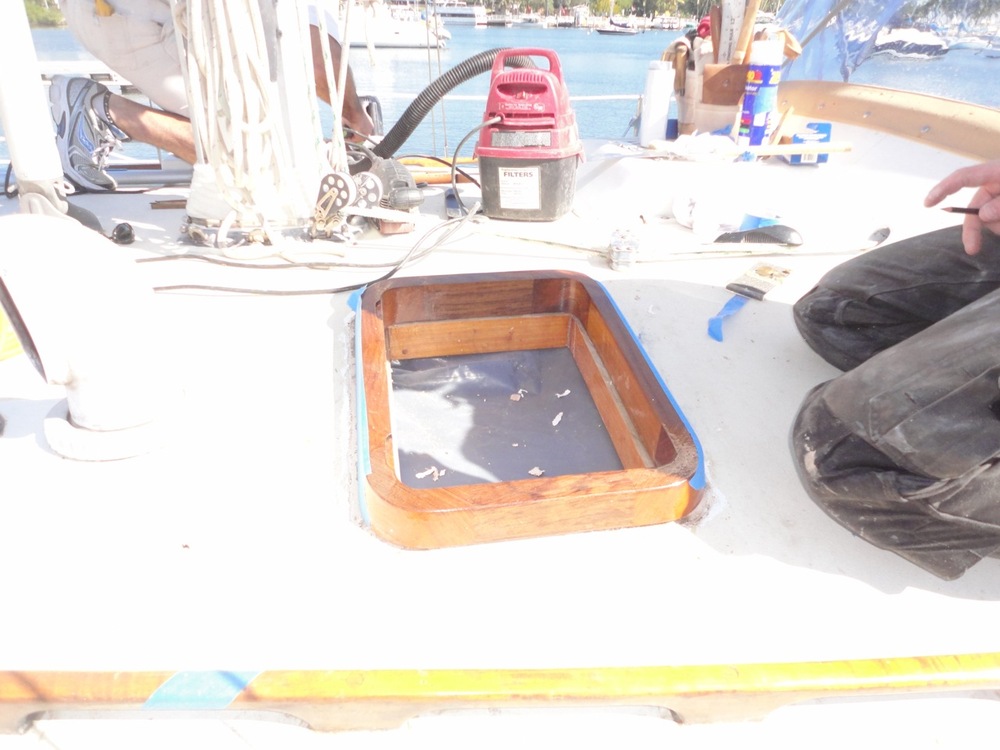
We had to call in another contractor, John Francis Shipwright Services (954) 326-4145, to fix them properly. It took several weeks but now we have beautiful new teak frames around our beautiful new hatches.
There were two tricks required to do the job correctly. The first was that instead of bending the frames the the camber of the deck, the frames needed to be routed out to follow the camber. Secondly, lots of 5200 was used in order to permanently adhere the frames to the deck.
